
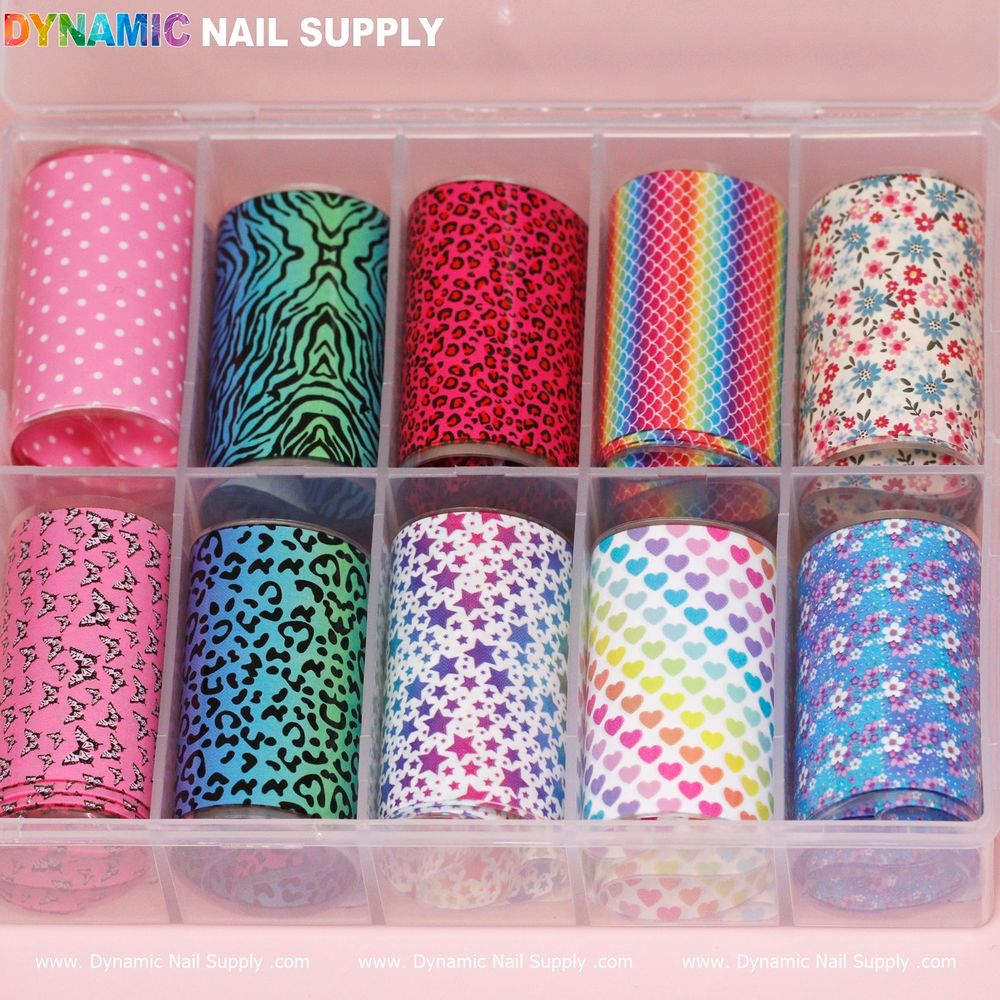
Bright, rainbow-inspired foils add instant impact to a manicure without complicated tools. If you love bold color, animal-skin accents, or Pride-inspired looks, colorful nail art foils are a fast way to layer shimmer, pattern and contrast over painted nails.
Before you buy, it helps to know how these sheets behave and what the basic process looks like—so you get the results you expect on your first try. For a quick look at the actual product and color range, check Nail Art Foils Colorful to view colors and patterns.
What are colorful nail art foils?
Nail art foils are very thin decorative sheets with metallic, holographic or printed surfaces that transfer onto nail polish or adhesive. The colorful variety emphasizes bright, rainbow or animal skin patterns and can create everything from full-coverage foil nails to small accent shapes.
Key terms for beginners
- Base color – The polish you paint under the foil to influence the final look.
- Foil glue / transfer adhesive – A tacky product applied to hold the foil in place long enough to transfer the design.
- Transfer – Pressing the foil onto tacky adhesive so the colored surface sticks to the nail.
- Burnish – Rubbing the foil so it adheres evenly and releases cleanly from the backing.
- Top coat – A clear finish that seals the foil and protects the design.
What you’ll need
- Colorful nail art foils (the decorative sheets)
- Base and top coat nail polishes
- Transfer adhesive or foil glue
- Tools for pressing: silicone stick, cotton swab, or soft finger
- Clean-up brush or lint-free wipe
Step-by-step: a simple foil transfer method
- Prep the nail. Clean, shape and remove oils from the nail plate so polish and adhesive stick well.
- Apply a base color. Paint a background shade and let it dry to the point suitable for your chosen adhesive. A contrasting base often makes the foil colors pop.
- Add adhesive. Apply a thin, even layer of transfer glue where you want foil. Wait until it becomes tacky (not wet) before applying foil.
- Press the foil. Cut a piece of foil slightly larger than the nail. Place the patterned side up, press firmly with a silicone tool or finger, and burnish the surface to encourage transfer.
- Lift the backing. Peel the foil backing away slowly—if the foil didn’t transfer in spots, press again and re-peel as needed.
- Seal with top coat. Apply one or two thin layers of top coat to protect the foil and smooth the finish. Allow each layer to dry according to the product instructions.
Troubleshooting and practical tips
- If foil transfers only partially, the adhesive may not have been tacky long enough—try waiting a little longer next time before pressing.
- For crisp edges, trim foil with small scissors and use an angled brush with clear polish to tidy around cuticles before sealing.
- When you want subtle sparkle, apply foil to accent nails only instead of full coverage.
- Burnishing evenly matters: use a soft, steady pressure and avoid sliding the foil once placed to prevent smearing patterns.
Key features in context
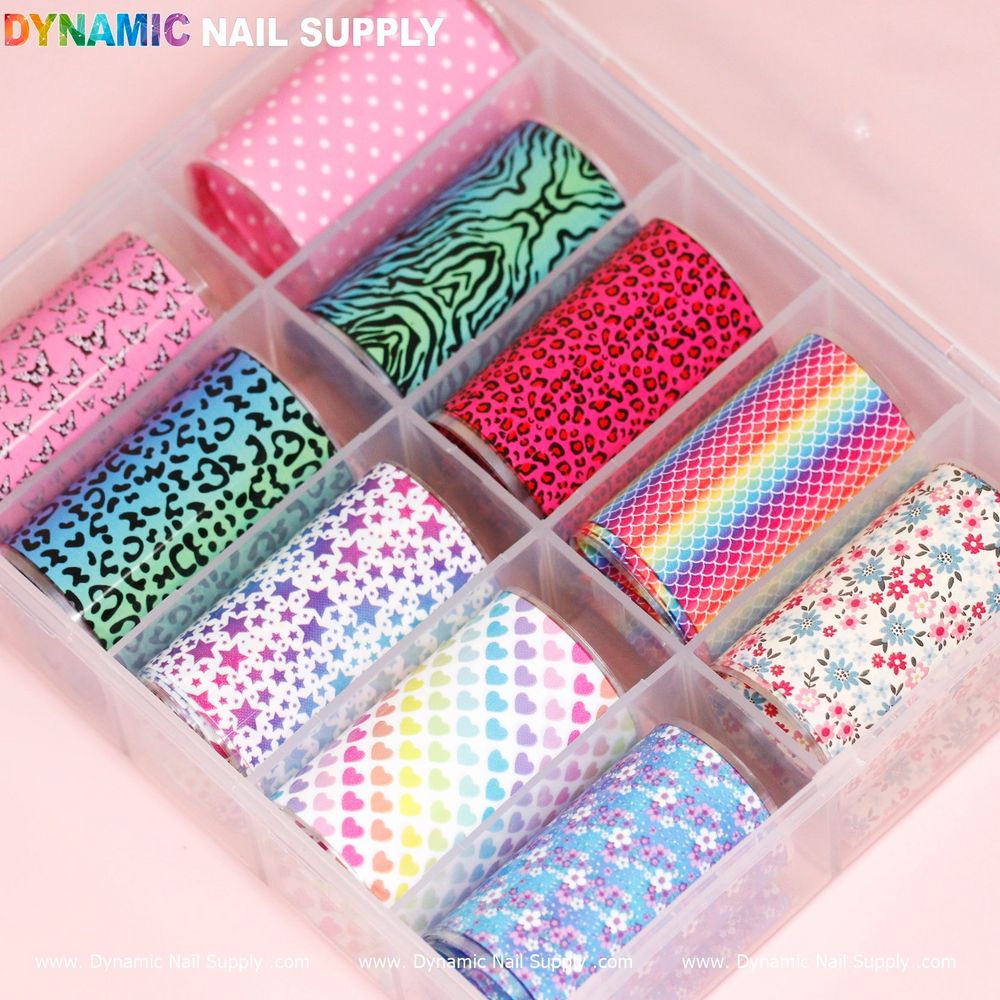
Colorful foil sheets are designed to add bright, patterned surfaces—rainbow blends, pride colors and animal-skin motifs are common varieties. Because foils lay on top of polish or adhesive, they can be layered over gradients or solid shades for customized effects. Many beginners find foils faster than hand-painting complex designs while still achieving professional-looking results.
Who should use colorful nail art foils?
These foils are excellent for beginners who want quick, dramatic nails without advanced brushwork, and for technicians who need a fast way to offer seasonal or themed accents. They work well for special events, pride celebrations or any look that benefits from high-impact color and pattern.
Care, storage and safety notes
- Keep foil sheets flat and dry in a cool place to avoid creases or sticking.
- Avoid contact with eyes and keep adhesive/finishing products away from children; follow any safety directions on the products you use.
- Use a durable top coat and avoid abrasive activities for the first few hours after application to extend wear.
Where to buy and finish line
Colorful nail art foils are sold in many nail-supply collections; priced at $6.00 for the product shown, they’re an affordable way to experiment with foil techniques. Available supplies and color mixes change, so look for a pack that highlights the patterns you want and read product notes before buying—Dynamic Nail Supply carries a range of choices for colorful looks.
With a little practice, foil transfers become fast and predictable. Start with accent nails and a neutral base, refine your pressure and timing, then expand into full-coverage or mixed-pattern designs once you’re comfortable.
