
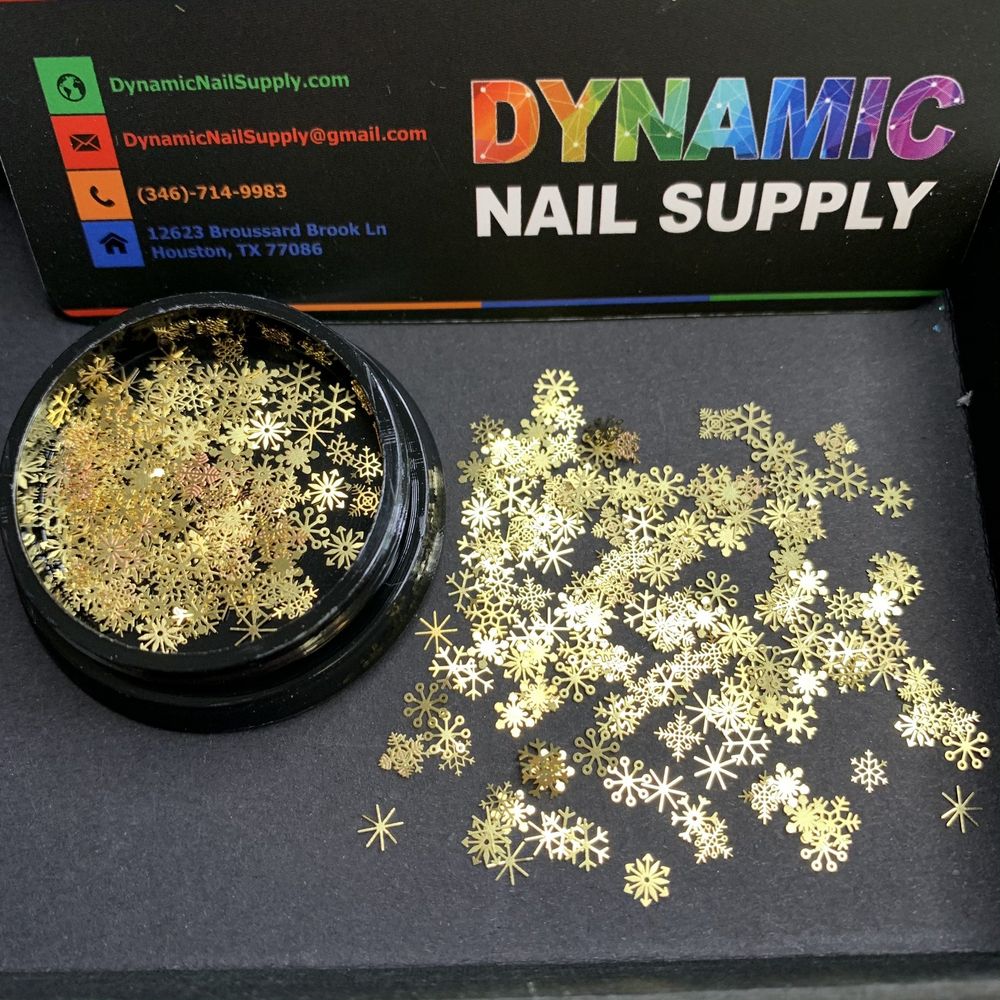
When the calendar fills with holiday appointments, small details create memorable services. Snowflake nail sequins are a quick, high-impact way to add seasonal sparkle without extending chair time. In a professional salon workflow they slot into the art stage, letting you deliver festive looks that read luxe but stay efficient.
Where snowflake sequins fit into a salon service
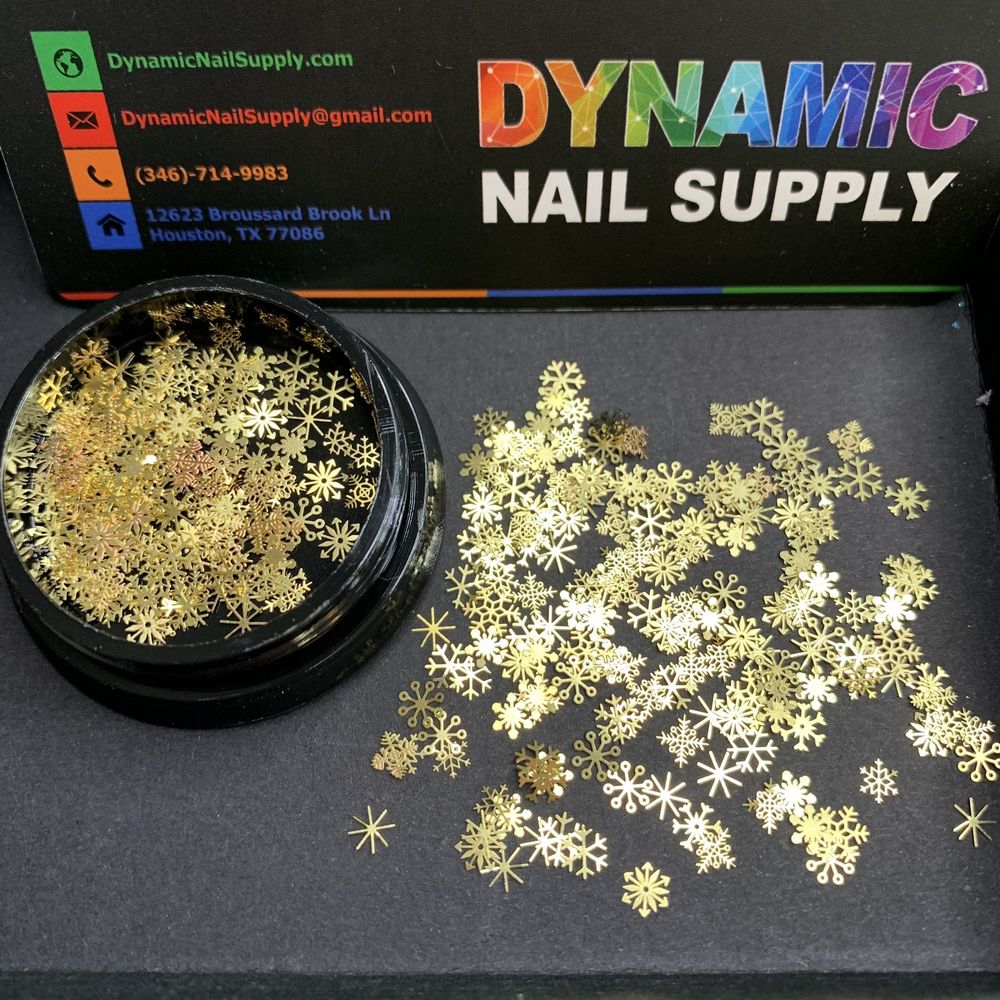
In a standard manicure or gel service, decorative elements are placed after shaping, cuticle work and base layers, and before the final seal. Plan for sequins during your design phase so they’re applied on a tacky layer or embedded into builder/gel top layers for durability. For nail art add-ons during express services, these pieces let you create a holiday focal point without a lengthy sculpt or hand-painted motif. If you want to see product options for seasonal accents, check out these snowflake sequins in the product listing.
Step-by-step application workflow
Prep and base
Complete your normal prep—shape, buff as needed, and remove dust. Apply base coat or soak-off gel base per your usual protocol.
Placement and securing
- Build the background: lay down color or a thin layer of builder/gel as your design canvas.
- Pick and place: use a wax pencil, fine tweezers or dotting tool to lift the tiny snowflake sequins and set them on the tacky layer.
- Seal: encapsulate or topcoat over the sequins to lock them in—apply thin layers to avoid lifting and ensure a smooth finish.
Tools and salon tips for speed and reliability
- Dedicated tray or palette: pour a small amount into a tray so techs can work quickly without fishing in the jar.
- Pick-up tools: a wax pencil or silicone-tipped picker speeds placement and reduces dropped pieces.
- Apply sparingly: a single snowflake on an accent nail or a trio on the ring finger reads modern and saves time.
- Test adhesion: when switching topcoats or gels, test a sample nail to confirm the sequin’s finish and hold before a full set.
Design ideas that work in a busy salon
- Minimal accent: one snowflake at the cuticle on a sheer or nude base for a clean holiday look.
- Negative-space cluster: place two or three sequins along a negative-space stripe for graphic contrast.
- Full accent nail: cover a single nail with multiple snowflakes over a coordinating polish to create a focal point.
- Mix and match: combine with microglitter or shimmer flakes to vary texture while keeping application quick.
Key features in practical terms
- Seasonal motif: snowflake shapes translate instantly to holiday services and gift-card clients.
- Metallic finish: the reflective surface catches light under salon lamps, adding perceived value to a short add-on.
- Low-cost add-on: at the listed price of $3.00, sequins can raise average ticket value while keeping supply costs minimal.
Who should stock snowflake sequins?
Any salon offering seasonal or express nail art will find these suitable. They’re ideal for techs who want to upsell holiday glam during shorter appointments, mobile technicians who carry a compact kit, and front-desk retail setups as an impulse-buy accessory. If you prefer a single reliable source for holiday supplies, you can purchase these snowflake sequins from Dynamic Nail Supply as part of your seasonal inventory.
Storage, care, and client guidance
- Storage: keep sequins in a dry container away from direct light to avoid bending or tarnish over long storage periods.
- Care: advise clients to avoid long soaking and to use cuticle oil—this helps maintain topcoat integrity around embedded decorations.
- Safety: small parts are a choking hazard; keep away from children and store out of reach.
Snowflake sequins make a compact, high-impact addition to holiday services: they speed application, increase perceived value, and fit neatly into the art stage of any professional workflow. Keep a small jar in your kit this season and use them to create consistent, sellable looks that clients will book again.
